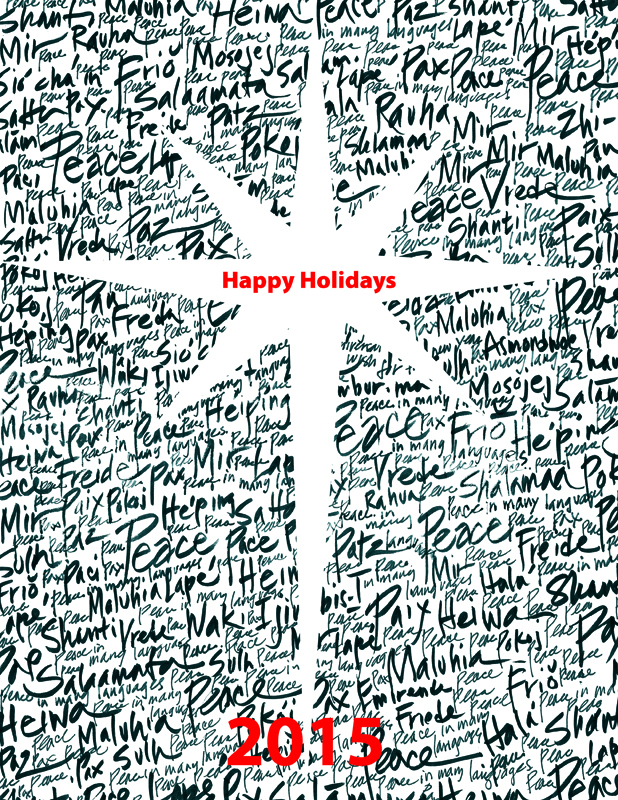
Happy Holidays to one and all, and Best Wishes for a Peaceful and Prosperous 2015!
Happy Holidays to one and all, and Best Wishes for a Peaceful and Prosperous 2015!
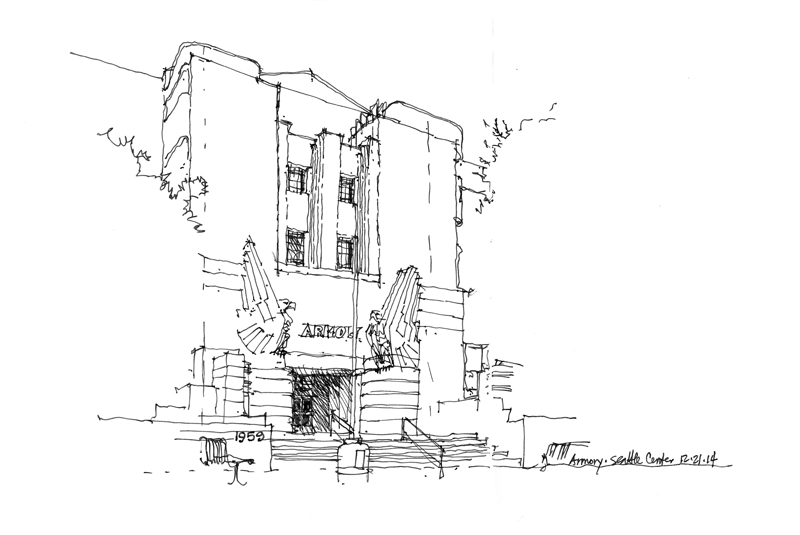
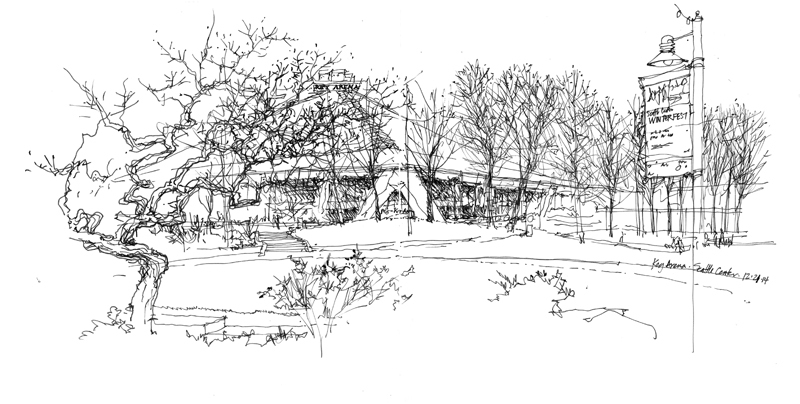
Here are three scenes from Seattle Center I drew during the monthly meeting of the Seattle Urban Sketchers group. The first is a quick study of the east entry to the former Armory, which is now known as the Center House.
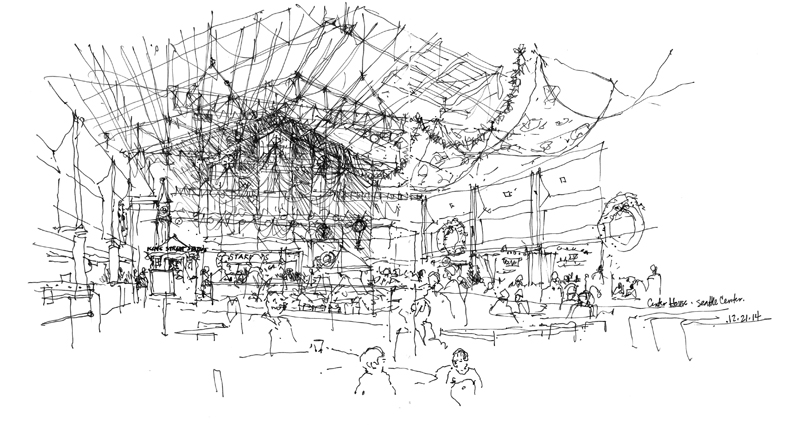
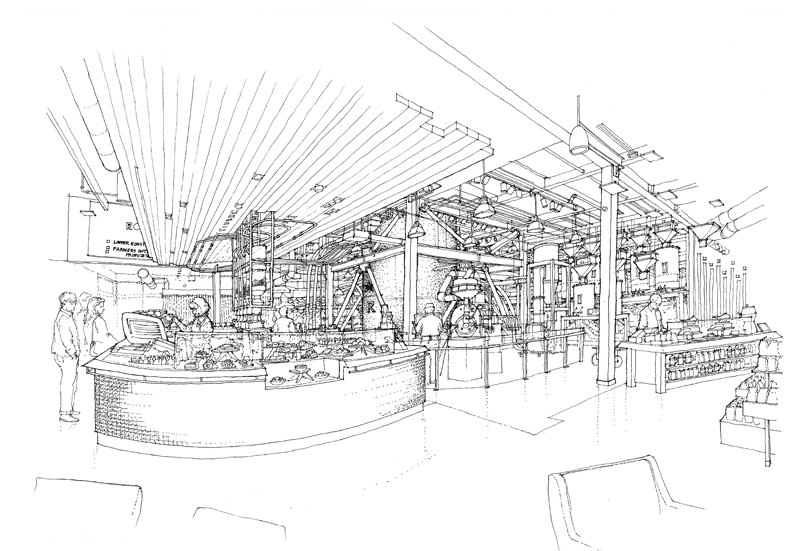
The second is the interior of the Center House, which houses a large food court, entertainment stage, and a super-sized model train layout for the holidays.
The last is of Key Arena, former home of the Seattle Supersonics but still a successful venue for many sporting and cultural events.
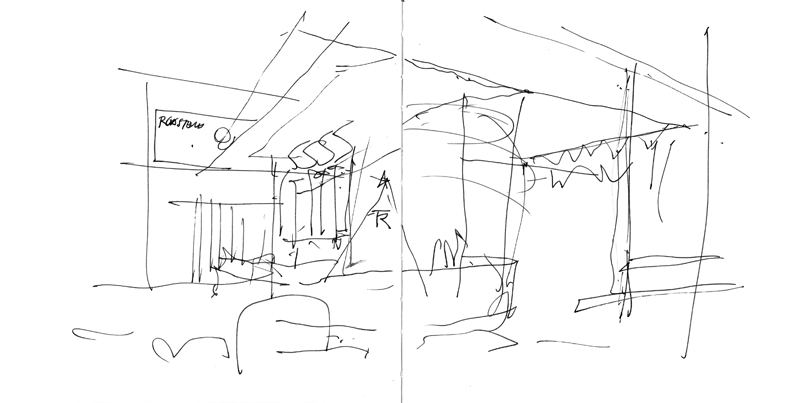
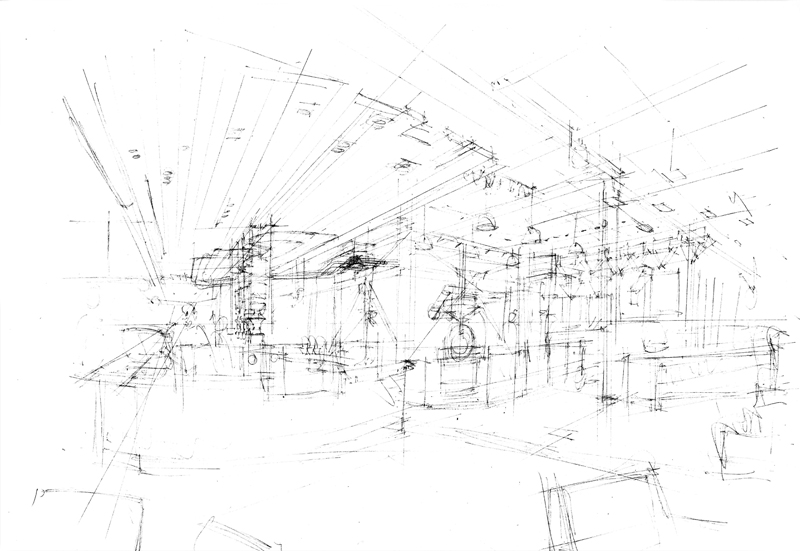
Few drawings are executed in a single pass. When drawing on location, my process usually involves first blocking out the overall structure of a scene before refining the forms, making adjustments, and filling in the details. And for studio work, the process becomes a little more involved. For example, for a drawing of the interior of the new Starbucks Reserve Roastery and Tasting Room in the Capitol Hill neighborhood of Seattle, there were three phases in the process. The first is a very quick study of the possible viewpoint. The second is a rough pencil layout of the final view submitted for approval. And finally, the finished ink-line drawing.
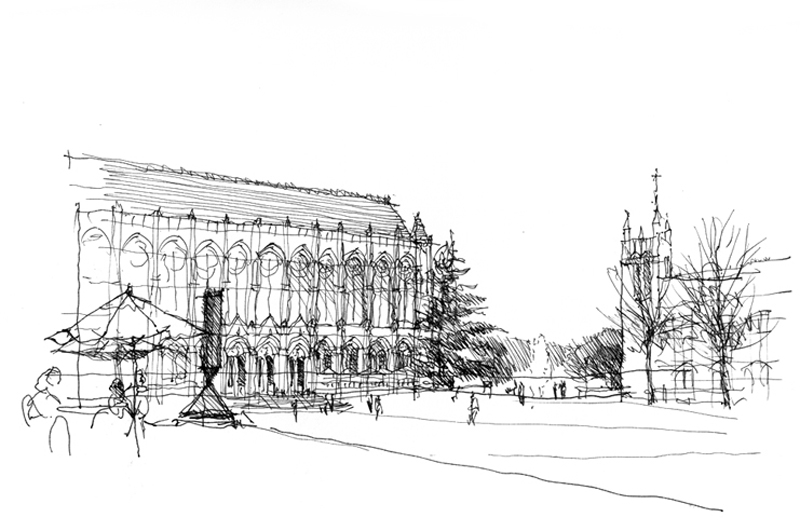
Back in 2010, a number of videos were shot of me drawing scenes on the UW campus. Here is the sketch I did of Red Square with Suzzallo Library in the left background, Gerberding Hall to the right, and a table setting and Barnett Newman’s sculpture, Broken Obelisk, in the foreground. During a break in the rainy weather we’ve been having the last few days, I again went to draw Red Square, this time drawing a slightly different view with my iPad Mini and the Brushes app.
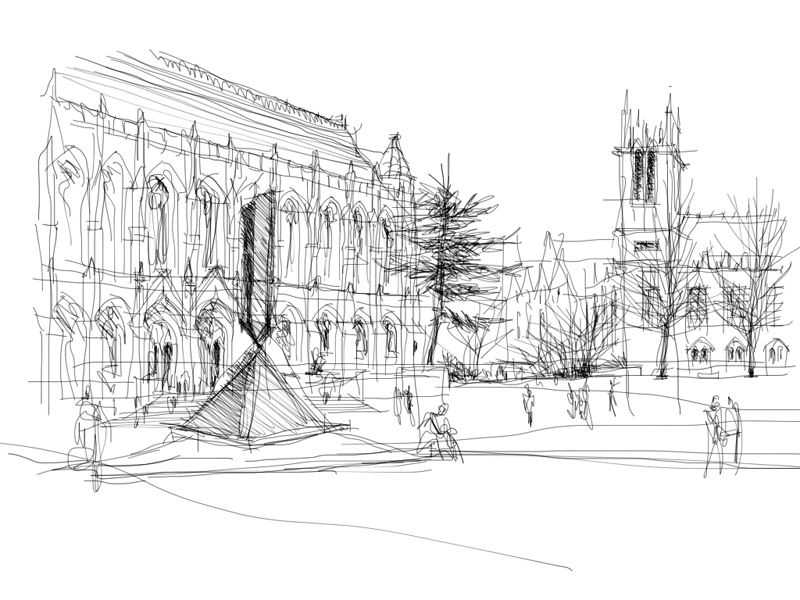
Drawing with my forefinger on a glass surface that is only 6.25 x 4.75 inches in area fosters the use of more gestural strokes and inhibits the drawing of fine details. Even though the strokes are only one pixel wide, I found myself suggesting rather than describing because I wasn’t willing to constantly zoom in and out and painstakingly work pixel by pixel. I’ve tried a number of styli but haven’t found one that is a reasonable substitute for the nib of a fountain pen due to the nature of the capacitive touchscreen display.
Still, the overall process of establishing perspective structure first before adding tones and details remains the same as when drawing with a pen on paper. I hope to show this when I export the data and convert the actions into a Quicktime movie.
Back in 1963, an art history course at the University of Notre Dame required me to copy a number of art works. The idea was to supplement the reading about and viewing of art with the act of reproducing art. Here are three examples from my course notebook that I happened upon recently.
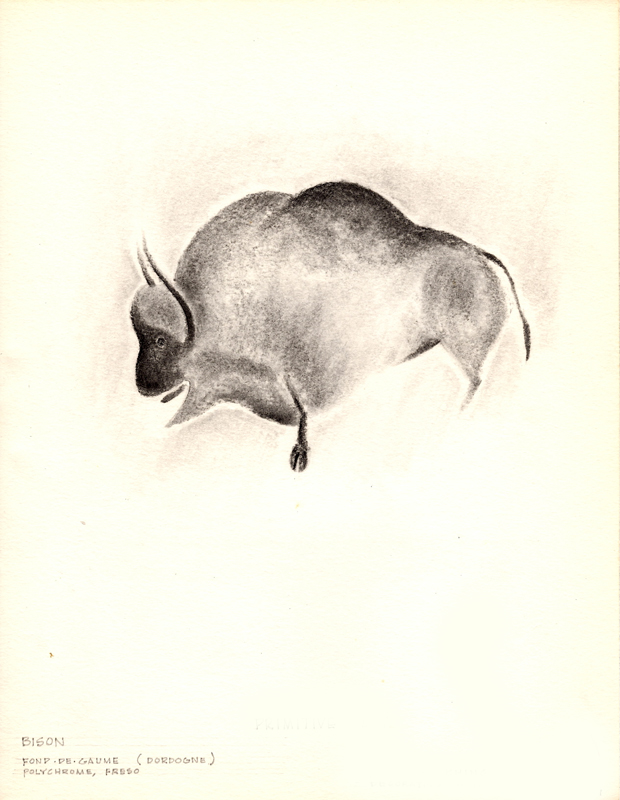 Dordogne Cave fresco of a bison
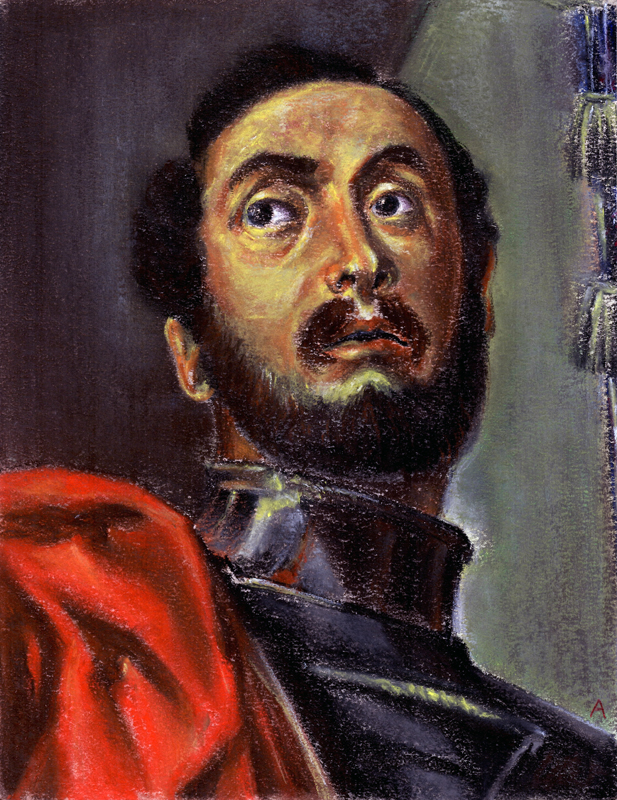
Veronese’s Head of St. Mennas (detail)
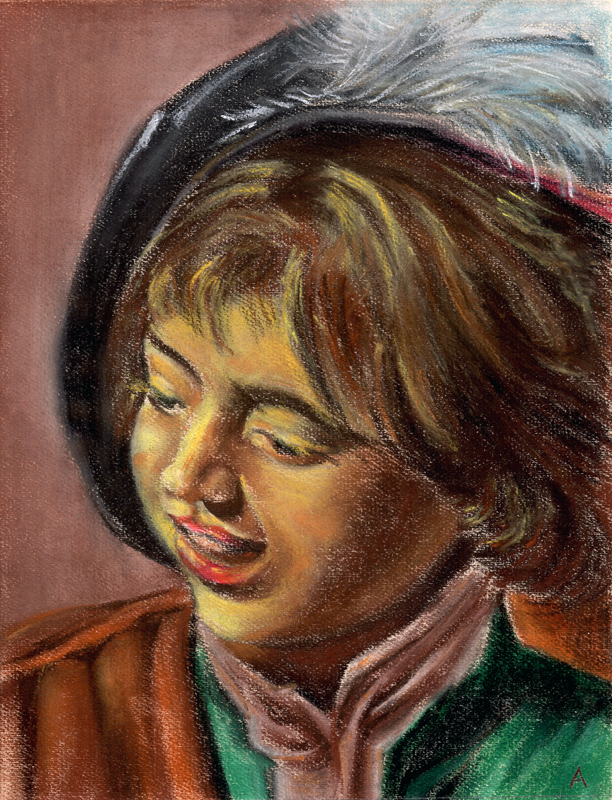
Frans Hals’ Young Flute Player
It had long been a tradition in the studio arts to copy masterworks as a way to gain proficiency, the thinking being that one could learn by imitating the compositional strategies, the strokes and blending of colors, and other techniques used by artists more skilled than ourselves. There are art teachers, however, who consider this type of copying to be a crutch and an obstacle to developing one’s own creative mind. Whether the practice of copying is good or bad depends ultimately on the reasons for doing so. The motivation for copying should not be merely the reproduction of a work. Rather, it should be seen as an attempt to explore the process of the original artist and just a single step in the learning process.
I should point out that drawing on location neatly sidesteps the question of copying. But note that even here, we are in a sense copying what our visual system takes in and interprets.